


Welcome to my website !
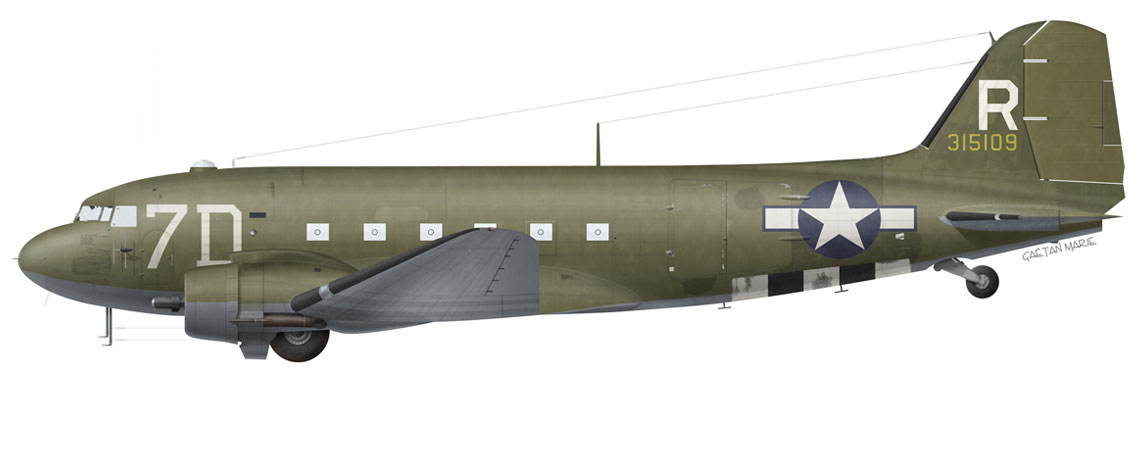
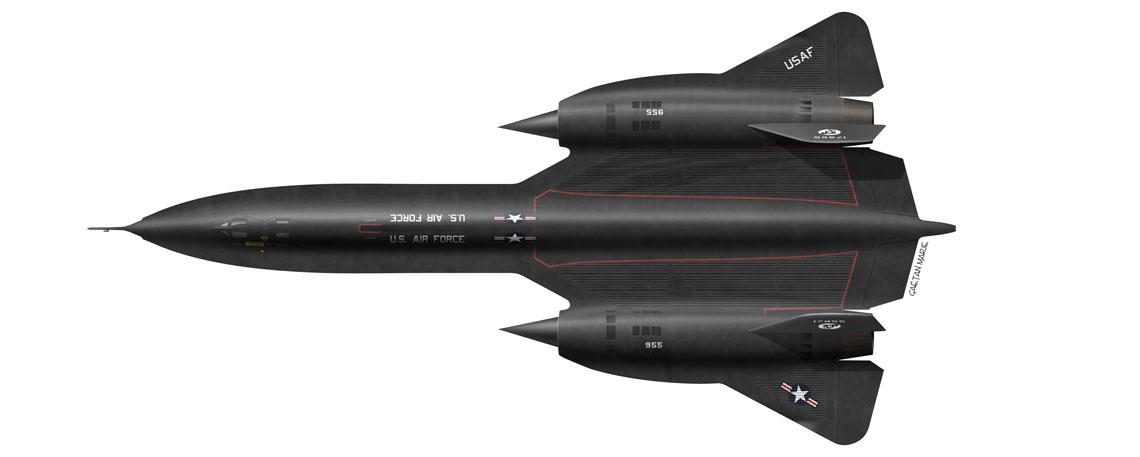
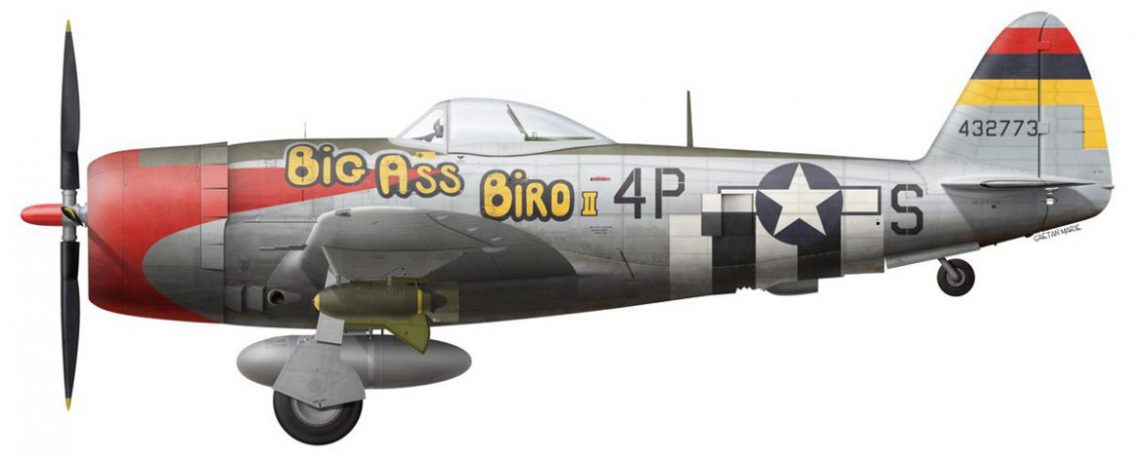
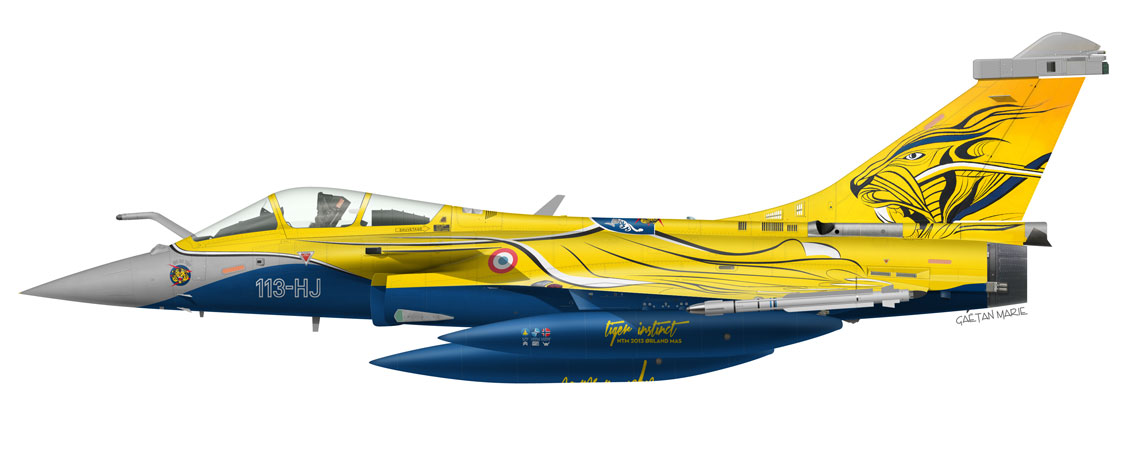
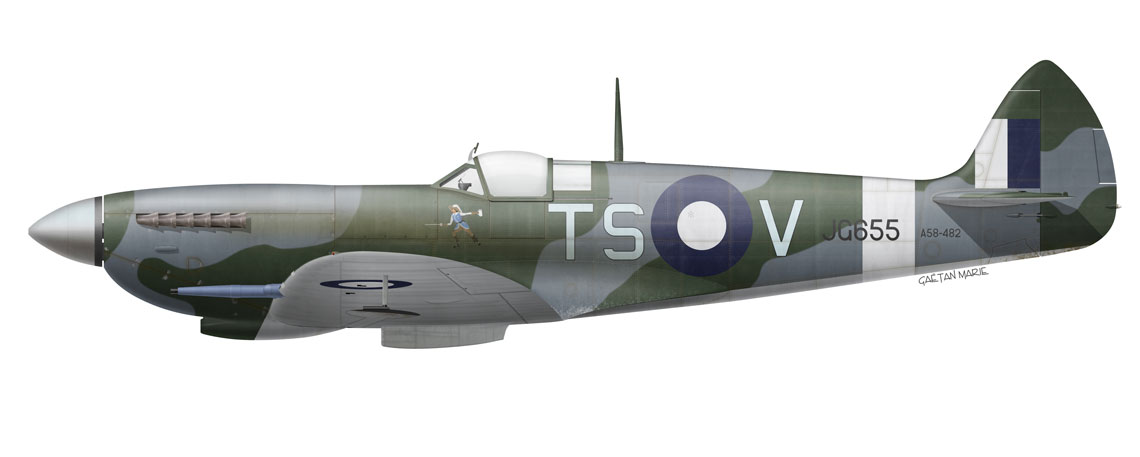
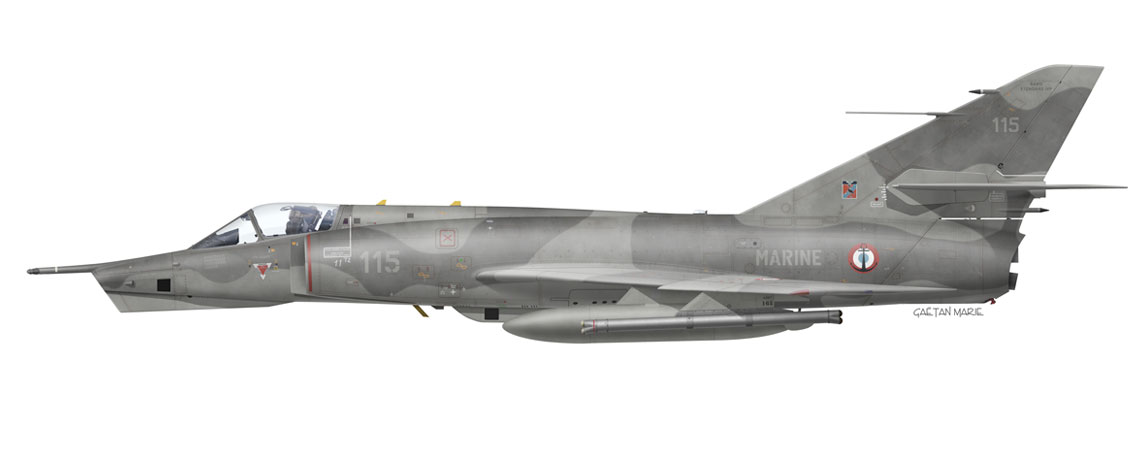
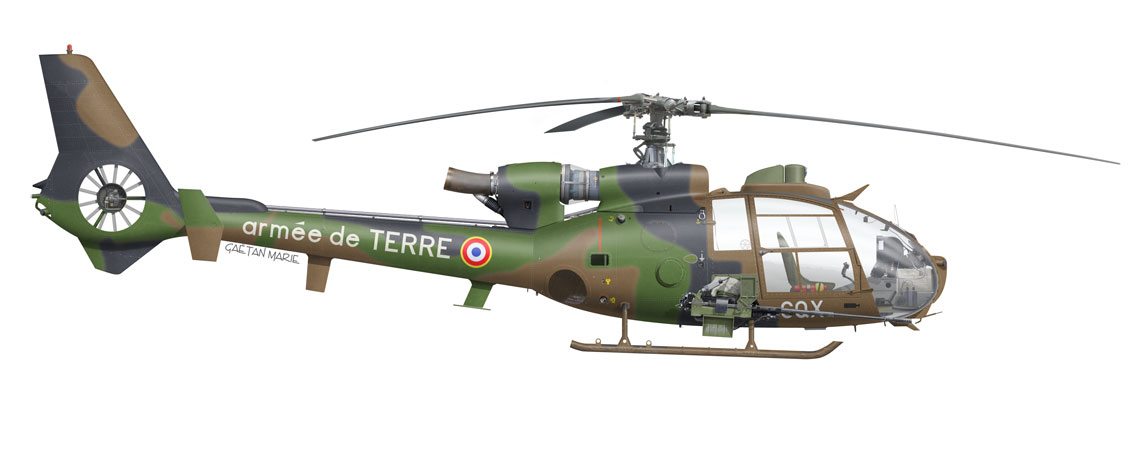
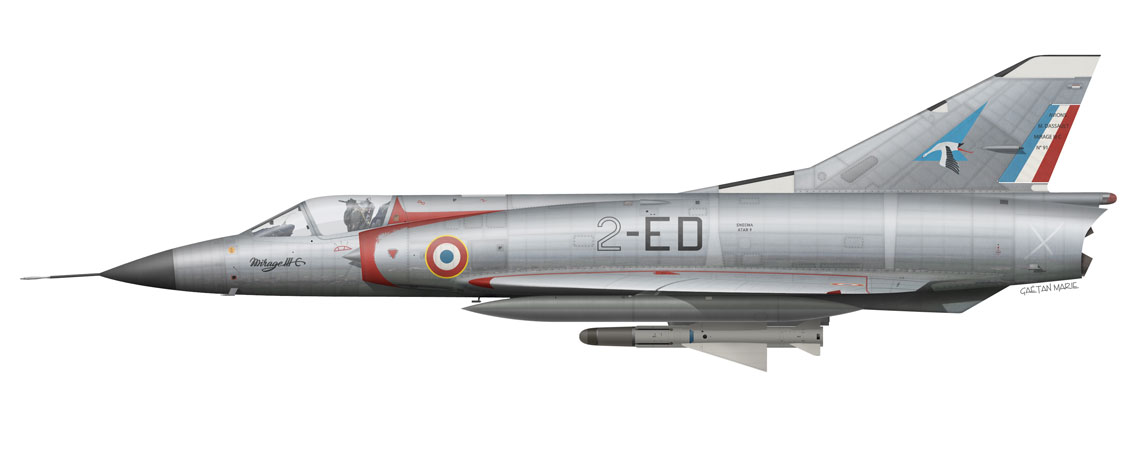
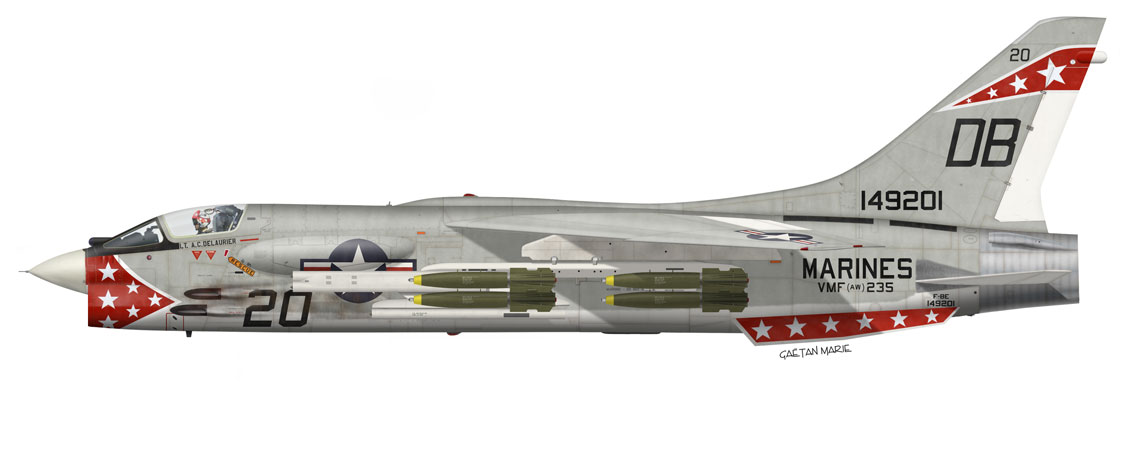
You will find on these pages a selection of my “aircraft profiles”, highly detailed digital illustrations of aircraft. Most of these are side views, although some top and bottom views are present, as well as some more traditional digital paintings.
As an aviation artist and historian, I strive to create illustrations that are as historically accurate and visually attractive as possible. I’ve been creating aircraft profiles for over ten years now and am still learning and getting better with every new creation.
If you enjoy my work, you might consider buying a print from my online shop Bravo Bravo Aviation where most of my work – and that of other artists’ – is for sale.
I’m also available for commissioned work for private individuals, publishers, museums, etc. Please feel free to contact me for any inquiry.
How are the illustrations created?


I work using almost exclusively Photoshop, with the occasional hand-made sketch scanned and imported into the final illustration. Creating a good profile requires a lot of work, divided into several phases.
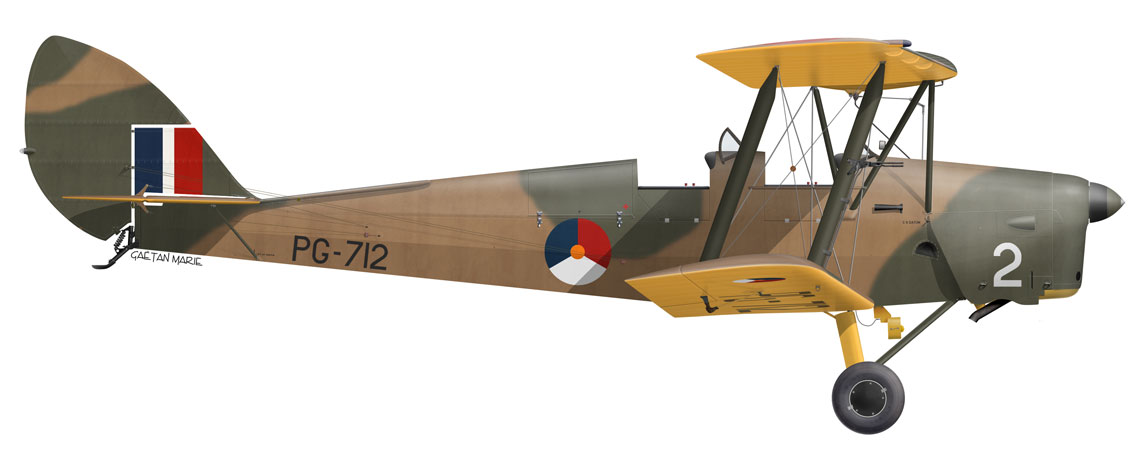
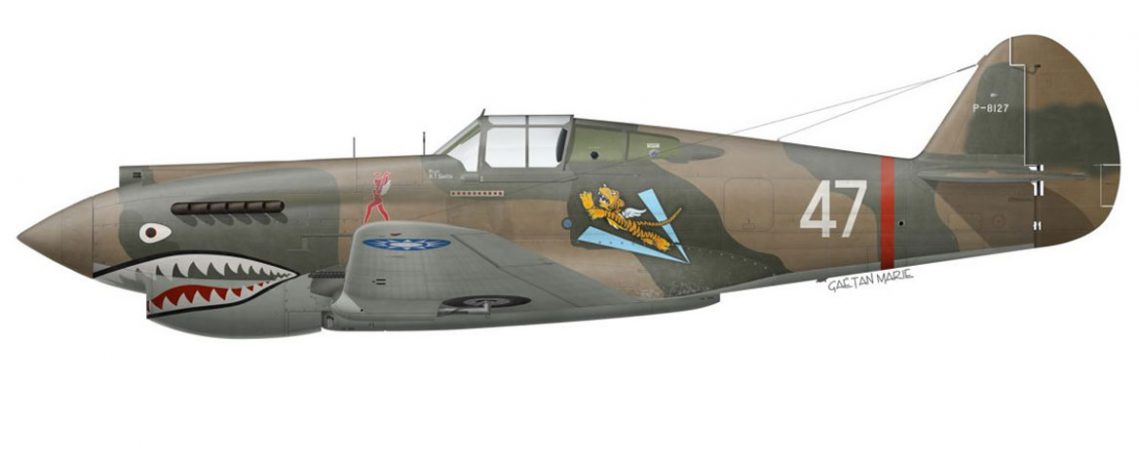
Documentation & Study – Before even beginning to draw anything, I first gather documentation and study the subject as thoroughly as possible. This involves studying the aircraft’s variants and equipment but also its camouflage and markings, as well as its operational use. Identical aircraft in different environments could age in different ways. Interestingly, in some cases one can even determine the unit to which an aircraft belongs solely by observing the way it is painted, repaired and/or weathered.
Gathering blueprints and photo documentation is often quite challenging. As a rule of thumb, most blueprints are inaccurate even when they are provided by the aircraft manufacturer and are to be used with caution. Photos of preserved and restored aircraft are often readily available, but such aircraft have often been modified and are no longer identical to the original design.
Period photos are obviously the best source, but are harder to come by.
This preliminary phase is often the most-time consuming but is indispensable to create a high-quality illustration. Once it is completed, the creation of the actual illustration can begin:

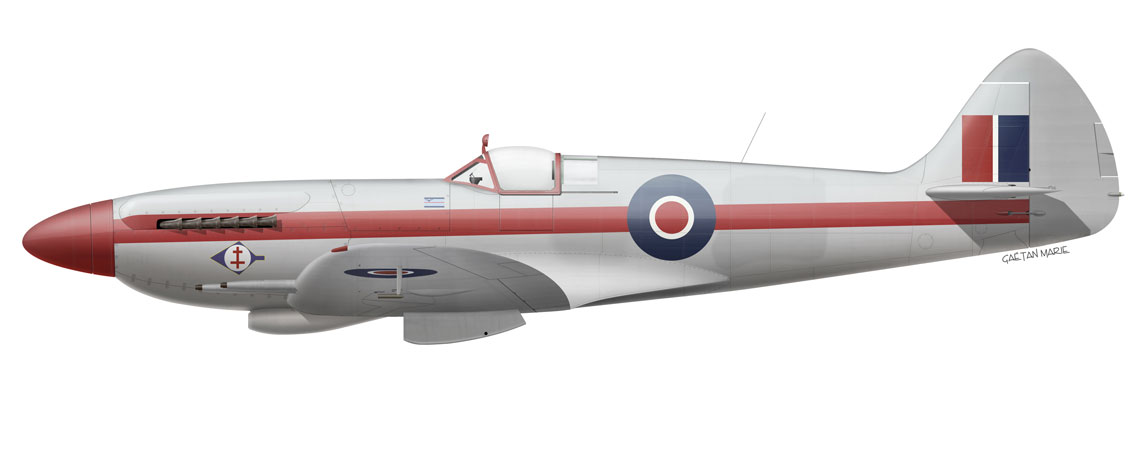
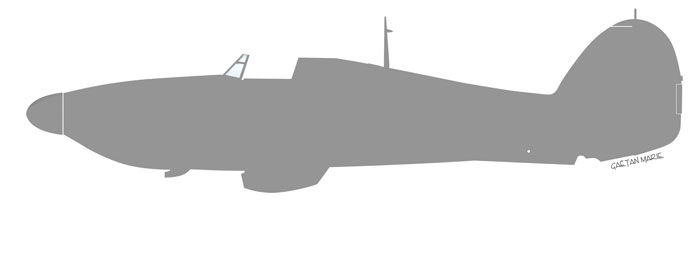
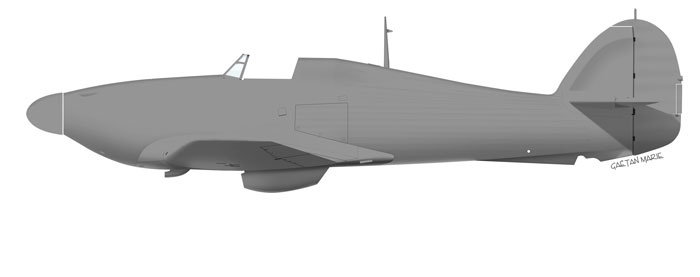
Basic outlining – I start by creating the basic outline and shapes for the aircraft, in a neutral grey color.
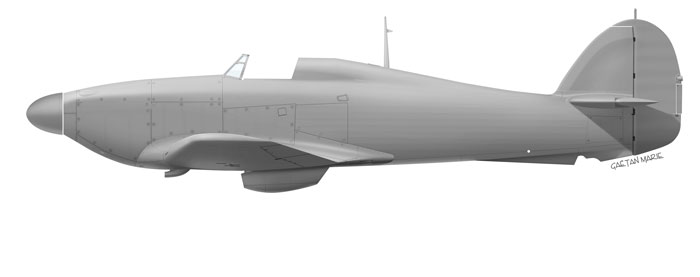
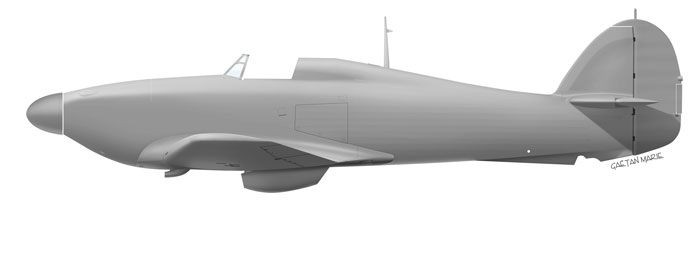 Shading and lighting – Once the outlines have been created, I add shading and lighting to give the aircraft some volume. At this point, the illustration begins to look like the actual aircraft.
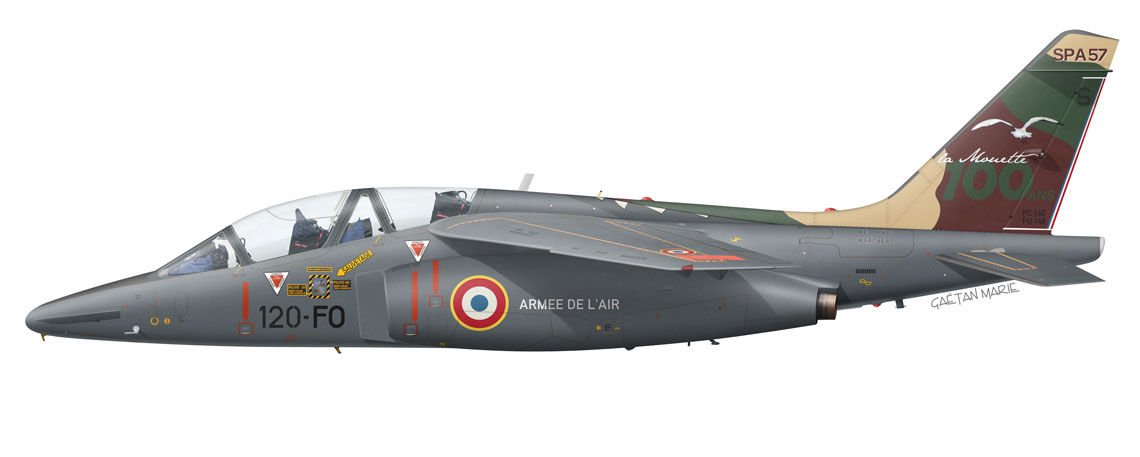
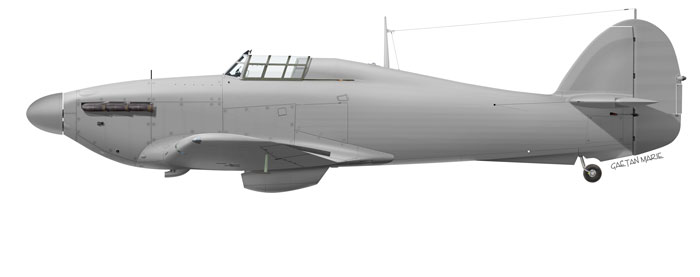
 Detailing – Once the major shapes are created, I add the various details that compose the aircraft: panel lines, rivets, screws, fairings, various bits of equipment, etc. Once this is done, I now have the template from which I will create the final illustrations.
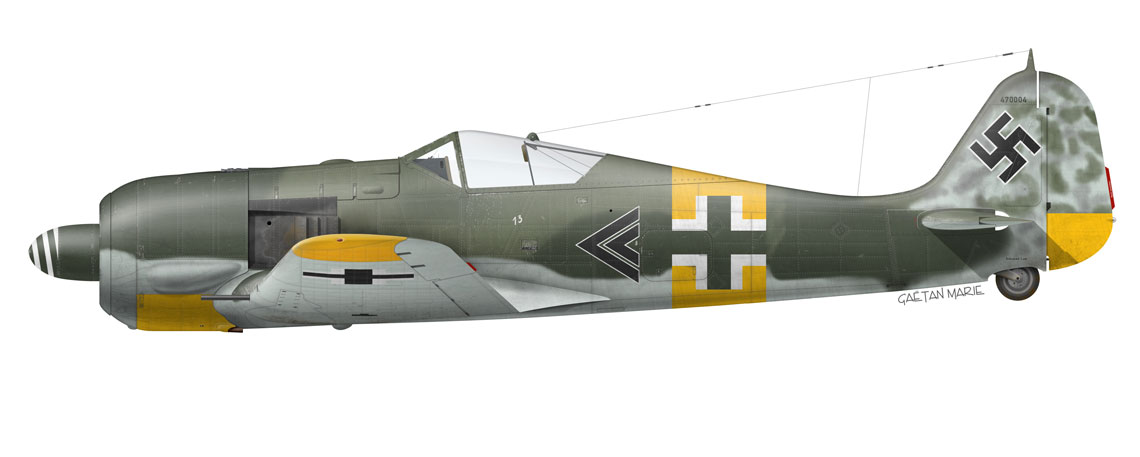
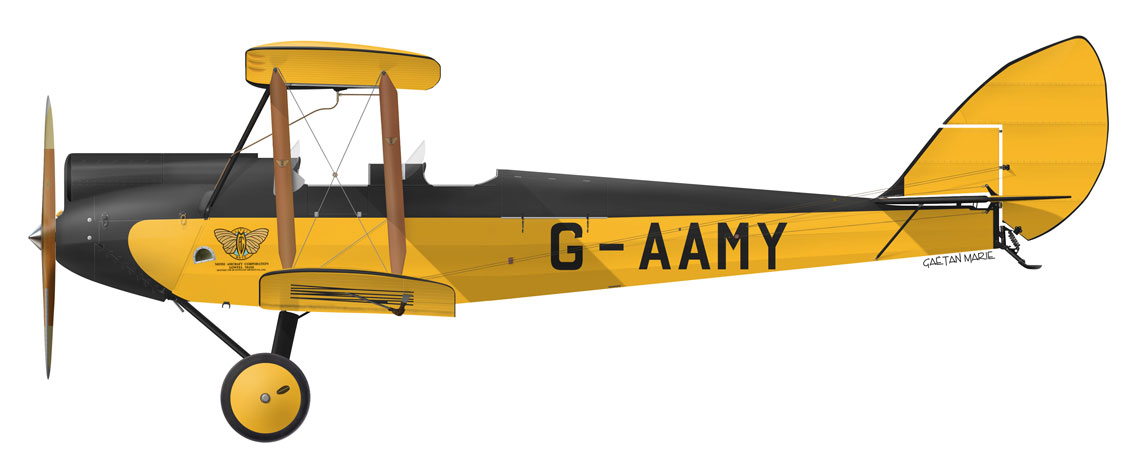
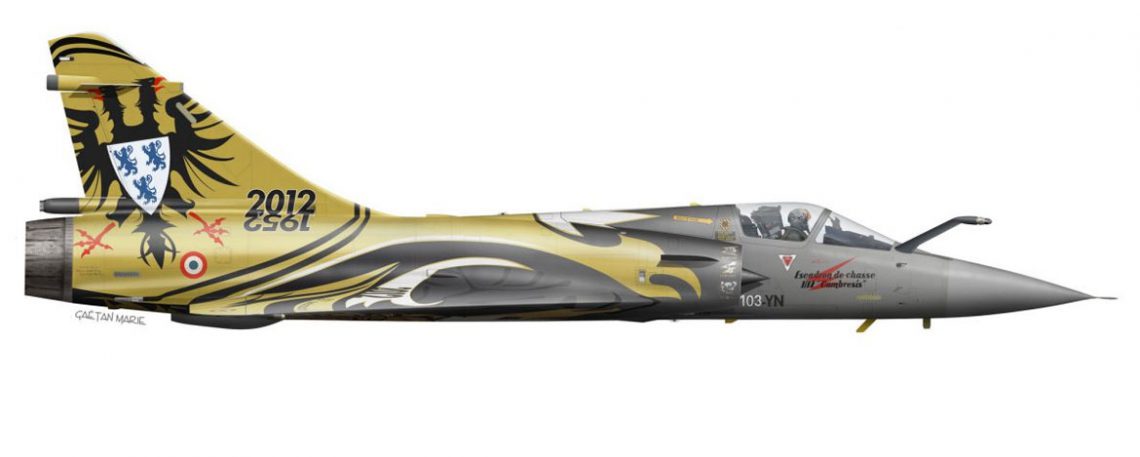
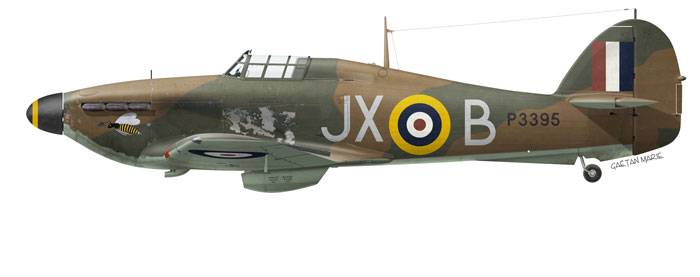
 Coloring – The “fun part”, which often turns into the “hard part”. Interpreting black and white photos is often difficult and in some cases nearly impossible. Nevertheless, this is where the aircraft begins to assume an identity rather than being some anonymous grey shape.
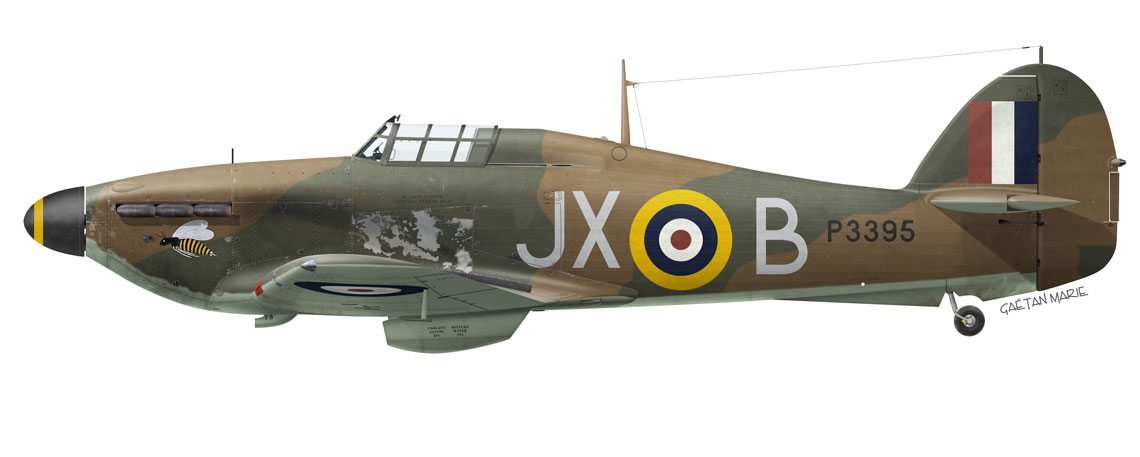
 Weathering – This is arguably the most important step. Until now the illustration had a very clean and bland “computer-generated 3D” look. Adding some weathering really makes it come to life. Many elements compose the weathering: paint wear and chips, repaints, discoloration, oil staining and streaming, scratches, exhaust and gunsmoke staining, mud and dust, etc.